Dining
Le Chateau Garden Bistro
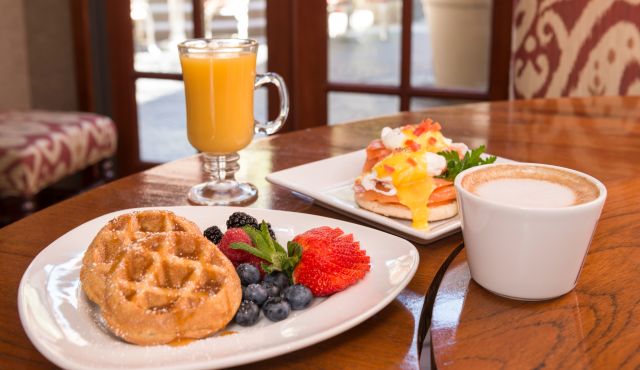
Delight in the delectable at Le Chateau Garden Bistro, our award-winning restaurant which serves inventive international cuisine breakfast, lunch and dinner. Renowned for creating feasts for the eyes and palate, guests of Le Chateau may dine by the lovely stone fountain in the restaurant’s charming courtyard, or enjoy the chic luxury of its graceful and elegant French provincial interior.
Hours: 6:30 am to 10 pm
Costa Mesa Catering
Le Chateau offers creative catering to make your event memorable. Whether a corporate meeting, intimate gathering, or the wedding of your dreams, the catering team at Le Chateau can put together a menu to make the most seasoned foodie salivate. Our Costa Mesa catering offers the attention to detail and endless culinary options to guarantee your event is a success. If you can dream it, we can do it!
Contact Le Chateau at 714-549-0300 ext. 406